AI Chat
User Guide
Startup:
After powering on the sensor, select “Dialogue Mode” using the dial button and enter. Before using Dialogue Mode for the first time, you need to complete network configuration. Please refer to the “Connecting and Configuring Network” section below for detailed instructions.
Interface Explanation for Dialogue Mode States
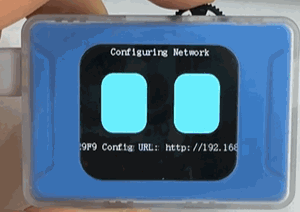
(1)Network Configuration
The following image shows the sensor during the network configuration state.
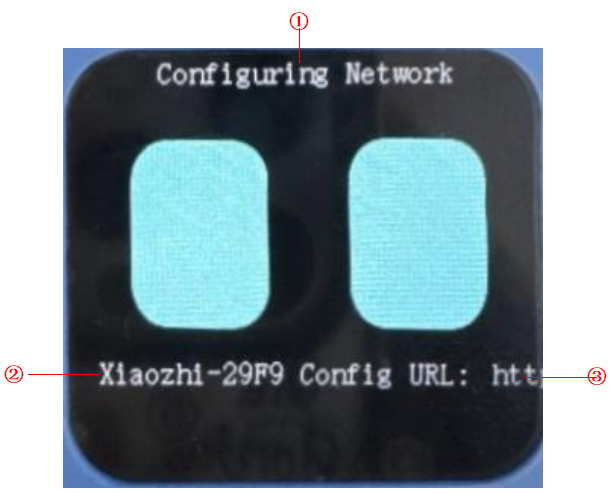
No. |
Name |
Description |
|---|---|---|
① |
Configuring Network |
Displays that the sensor is in network configuration state. |
② |
Connecting to Hotspot |
Displays the hotspot the sensor is trying to connect to. |
③ |
Browser Access |
After connecting to the hotspot, the browser will automatically open this page. If it doesn’t, visit “http://192.168.4.1” manually. |
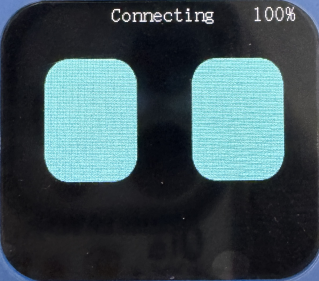
(2)Connecting
The following image shows the vision sensor during the connecting state.
(3)Standby
The following image shows the vision sensor in standby mode.
No. |
Name |
Description |
|---|---|---|
① |
Standby |
Displays that the vision sensor is in standby mode. |
② |
Volume |
Displays the volume, which can be adjusted by rotating the dial button left or right, or through interaction with XiaoZhi. |
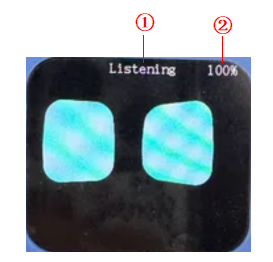
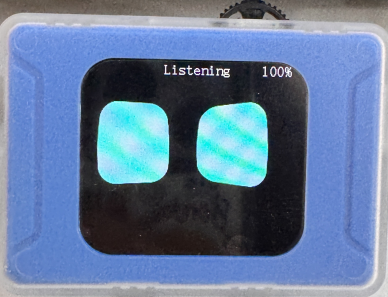
(4)Listening
The following image shows the vision sensor in listening mode.
(5)Speaking
The following image shows the vision sensor in speaking mode.
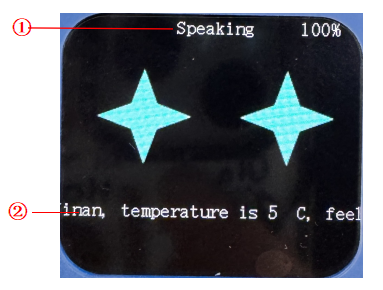
No. |
Name |
Description |
|---|---|---|
① |
Speaking |
Displays that the K210 module is in answering mode. |
② |
Dialogue Box |
Displays the conversation information. |
Function Introduction
Command Control
Definition
XiaoZhi supports voice control, including control of switch connections, backlight brightness adjustment, enabling/disabling tag and road sign recognition, setting custom command words, and controlling modules such as motors.
Command Description
Category |
Description |
|---|---|
Device Control |
Turn on/off fill light |
Vision Recognition |
Enable/Disable Apriltag recognition |
Custom Commands |
Set custom command () to () |
Extended Control |
Forward, backward, left turn, right turn, start, stop |
Custom Command Setup Steps
Example:
Step 1: Wake up the AI Vision Sensor by saying “Hello XiaoZhi.”
Step 2: Set the custom command by saying, “Set custom command (1) to (forward).”
K210 replies: “Custom command 1 set to forward.” (Indicating successful setup)Step 3: Execute the custom command by saying, “Execute custom command 1.”
K210 replies: “Executed custom command 1.” (K210 sends data to the corresponding port).
Voice Interaction
Definition
The AI Vision Sensor supports single-turn, continuous conversation, and contextual understanding, allowing interaction based on image recognition.
Command Description
Category |
Description |
|---|---|
Device Status |
Check current device status (Wi-Fi strength/volume level) |
Vision |
“Look at what’s in front” |
Free Q&A |
Weather/time/culture/geography/music… |
Usage Steps
After powering on the module, select AI Chat Mode.
In AI Chat Mode, the sensor will automatically attempt to connect to the network. If the network is not yet configured, please refer to the “Network Configuration” section below.
After the network is connected, issue the “Hello XiaoZhi” command or press the dial button to start the dialogue interaction.
Note: By default, the module will enter single-turn dialogue mode after powering on. To switch between single-turn and continuous dialogue modes, use the command: “Switch to (continuous/single) dialogue mode.”
Connecting and Configuring Network
Important! Please read before operating!
First-time use requires registration with a phone number, otherwise you won’t be able to enter.
Recommendations:
Step 1: Register an account in the backend, and wait for the verification code screen. For detailed steps, refer to the “Backend Registration” section below.
Step 2: Switch the AI vision snesor to AI Chat mode and wait for the sensor to broadcast the verification code. For detailed steps, refer to the “Network Configuration” section.
Step 3: Enter the broadcasted verification code in the backend for device connection.
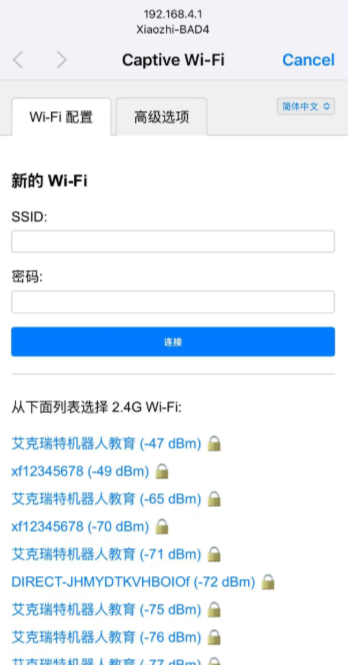
Network Configuration Steps
|
|
|---|---|
Step 1: Switch the AI vision sensor to AI Chat Mode. The interface will change to “Configuring Network” and display “Connecting to hotspot Xiaozhi-XXXX, browser access http://192.168.4.1.” |
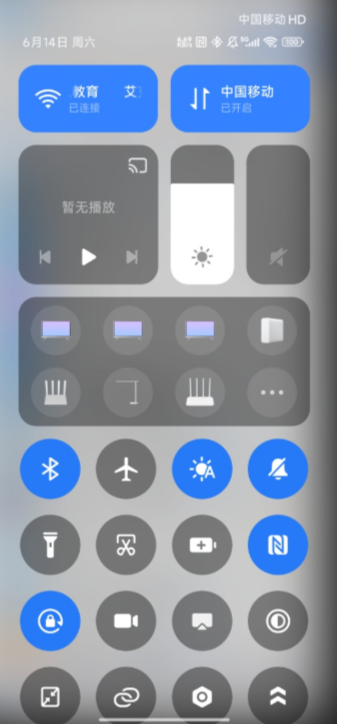
Step 2: Open your phone settings and turn on Wi-Fi. |
|
|
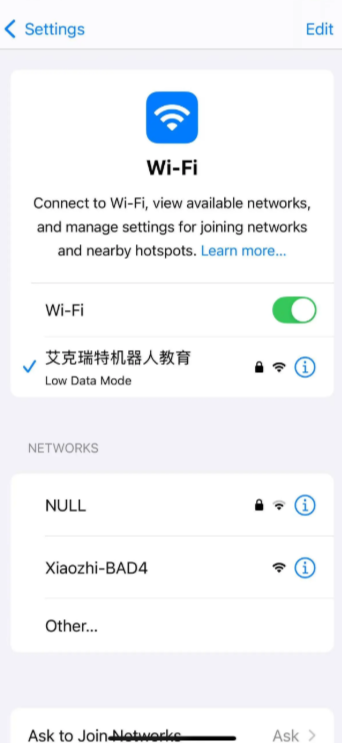
Step 3: Select and connect to “XiaoZhi-XXXX” (device ID from Step 1). |
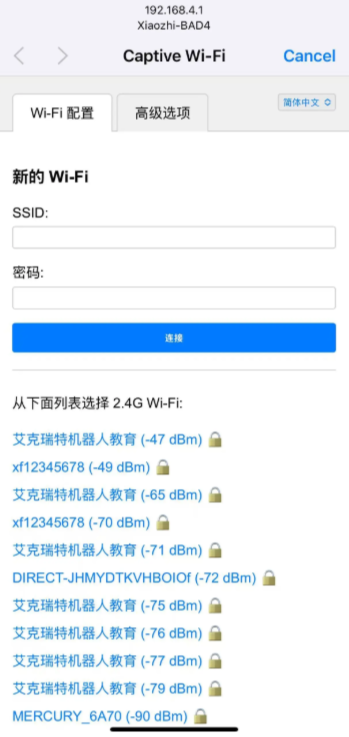
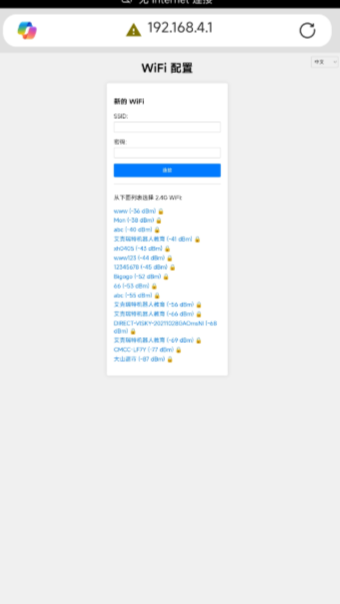
Step 4: After completing Step 3, your phone will automatically redirect to the network configuration page. If it doesn’t, please refer to Step 5. |
|
|
Step 5: If your phone doesn’t automatically redirect, open a browser and enter http://192.168.4.1 to access the network configuration page. |
Step 6: From the blue section, select the available Wi-Fi network (SSID) around you and fill in the password. |
|
|
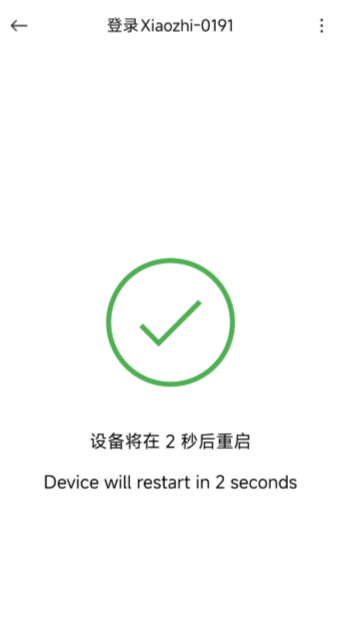
Step 7: After entering the Wi-Fi name and password, click “Connect.” After successful connection, the page will redirect, please wait patiently. |
Step 8: The Visual Module interface will show a six-digit verification code. |

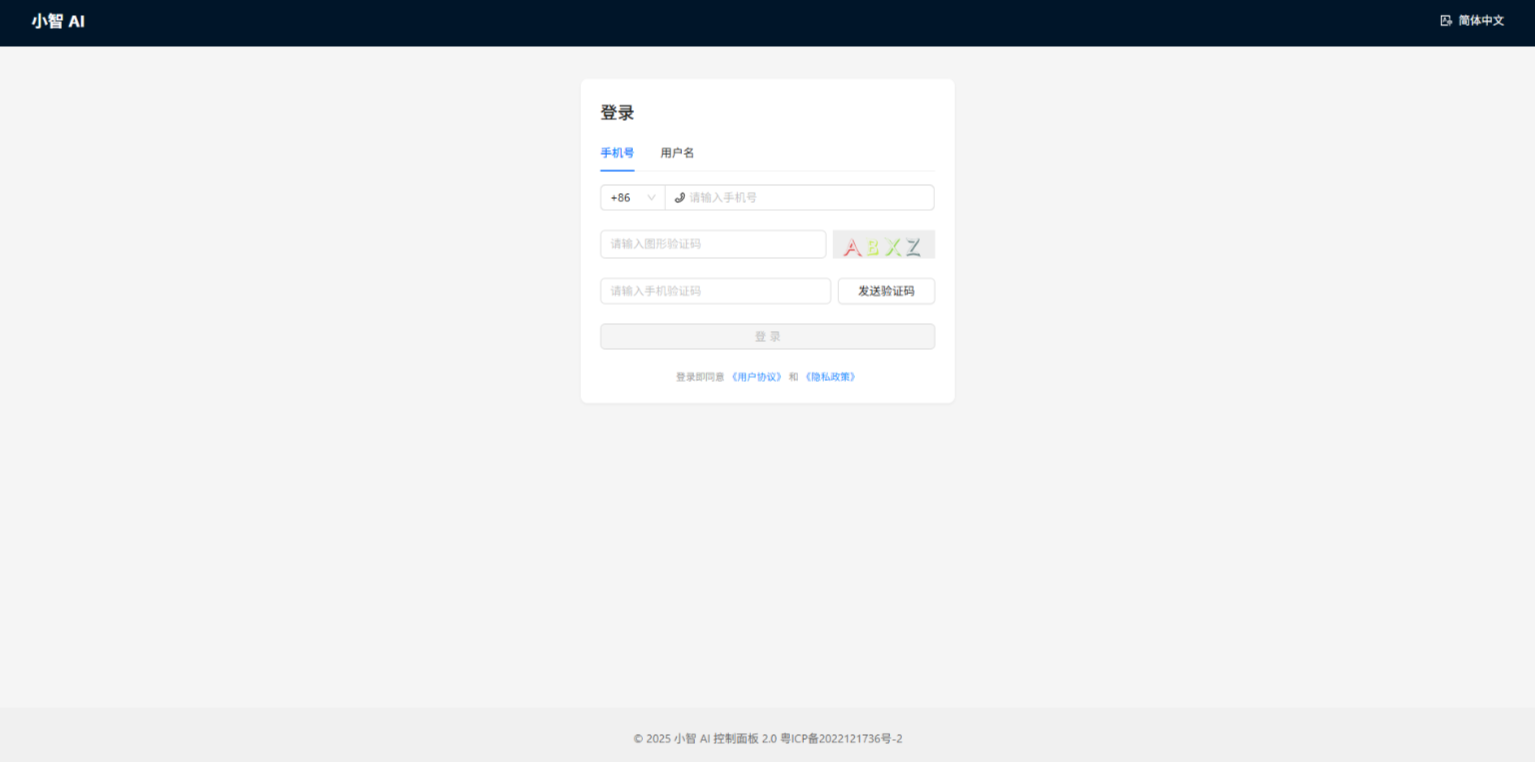
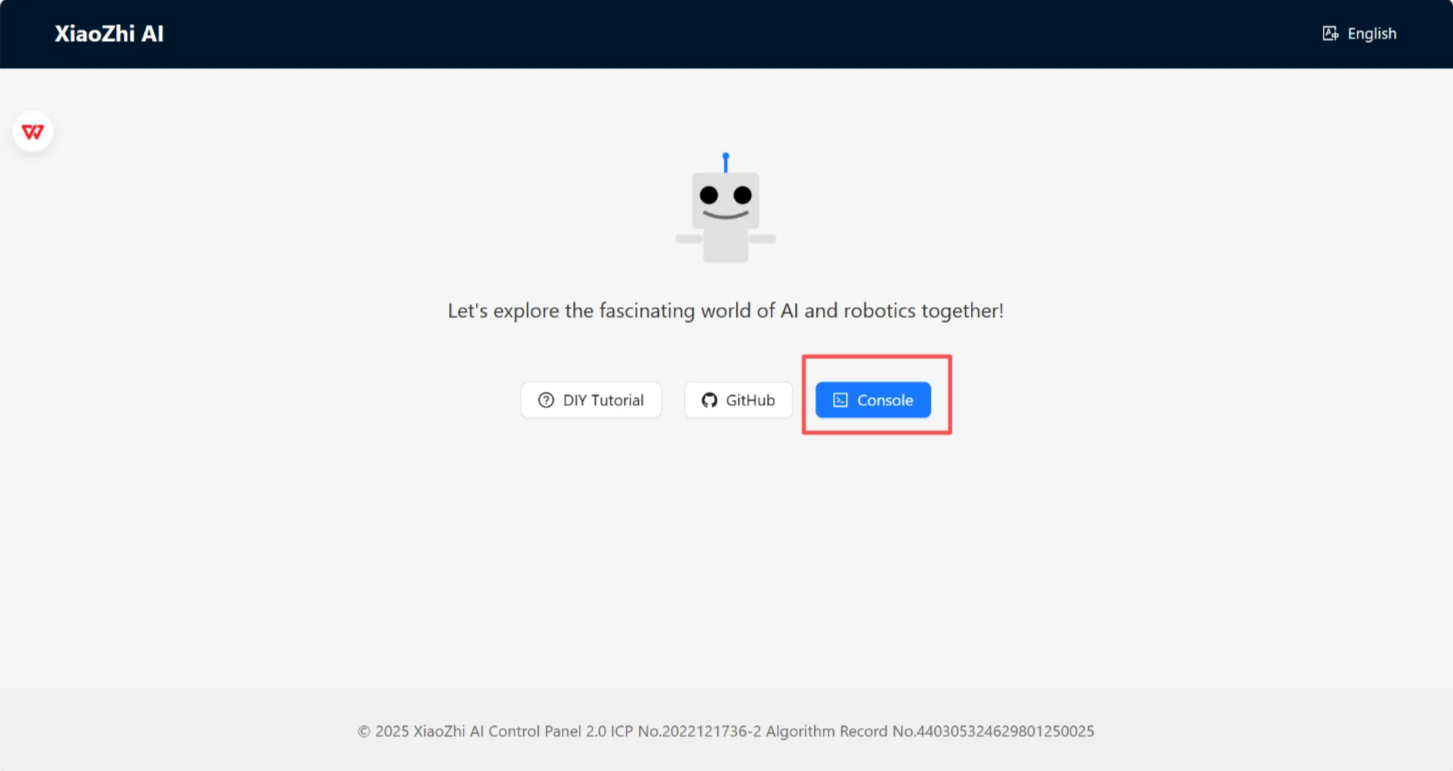
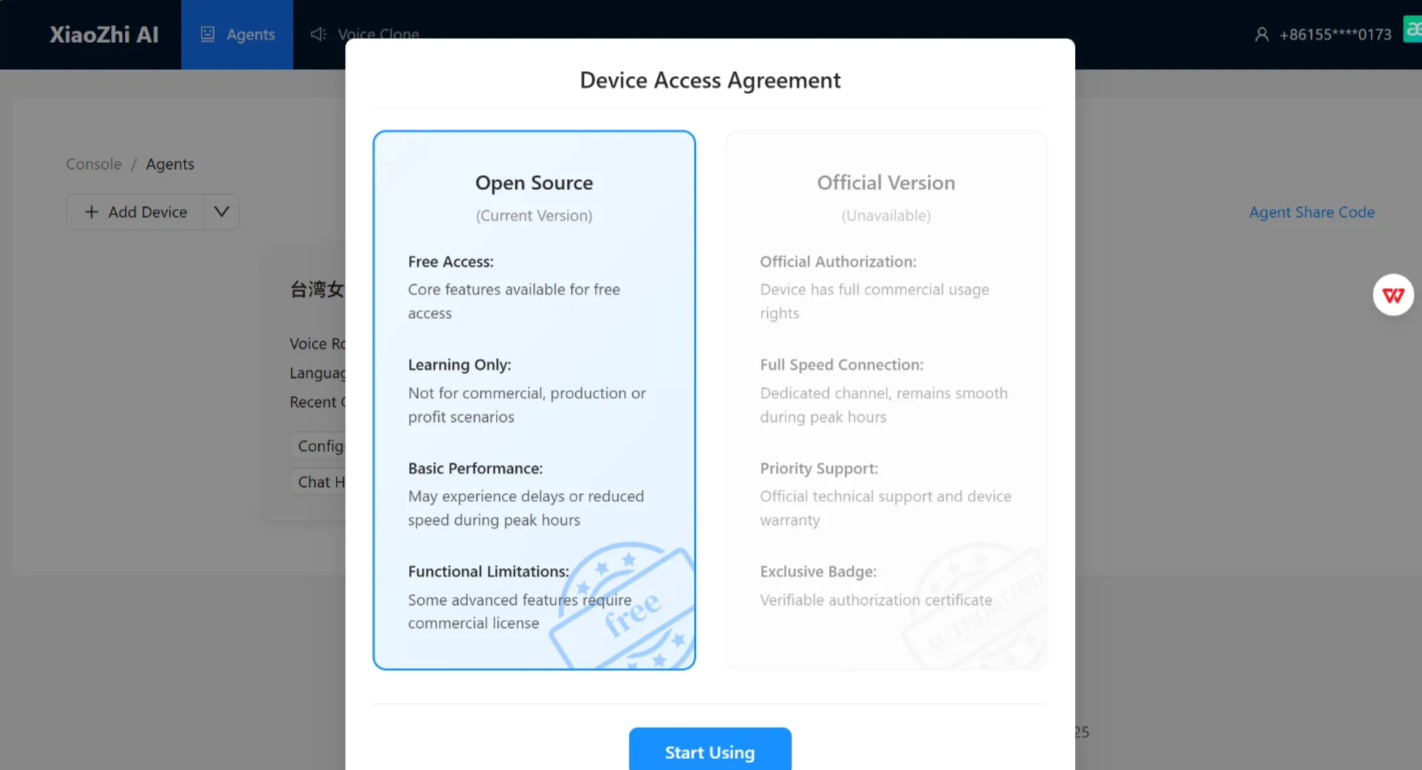
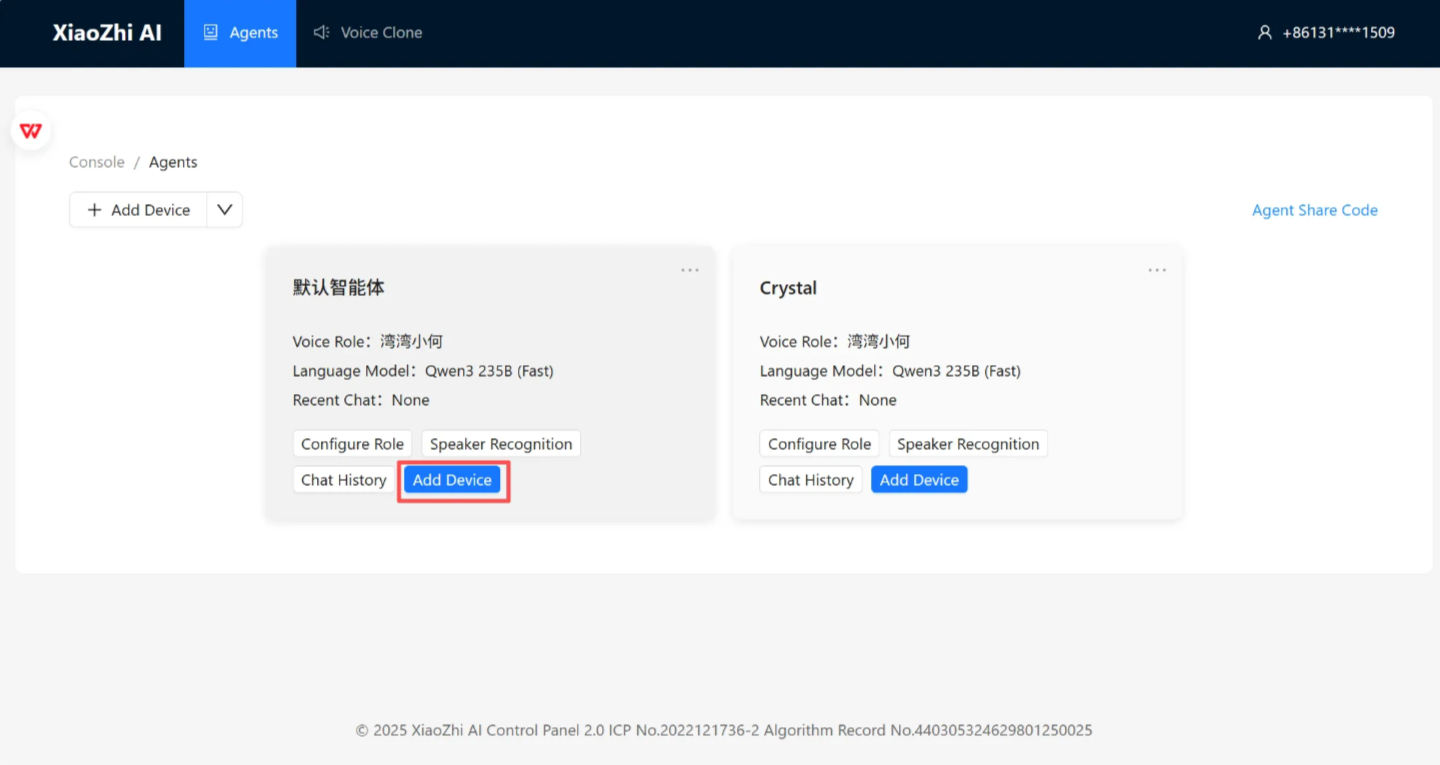
Backend Registration
|
|
|---|---|
Step 1: |
Step 2: |
|
|
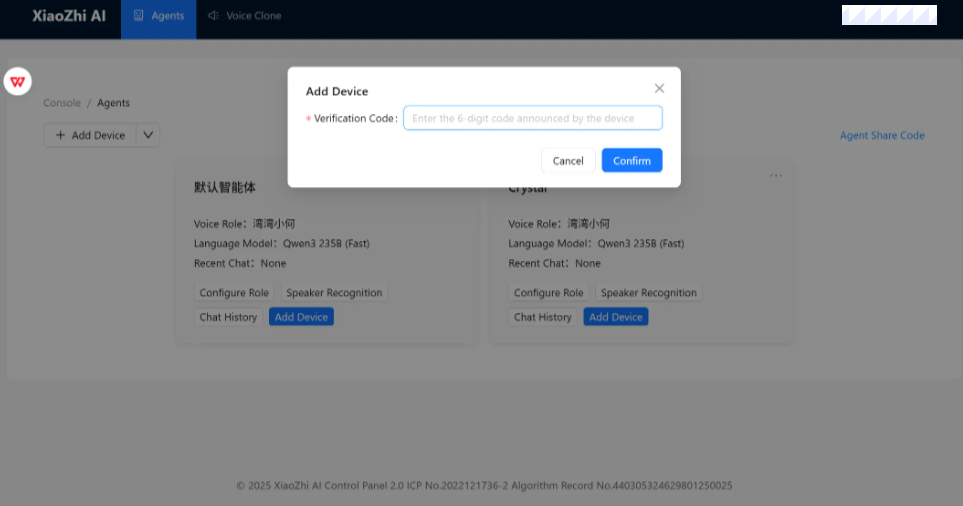
Step 3: Click “Add Device.” |
Step4: Enter the six-digit verification code broadcasted by the module and click “Confirm.” |
|
|
Step 5: In the control panel, select the open-source version. |
Step 6: |