Firmware Flashing
The Type-C port on the side of the module supports both firmware flashing and power supply.
When the vision module is connected to a computer via a Type-C cable, the computer will recognize two serial ports:
The larger-numbered COM port → corresponds to the onboard ESP32.
The smaller-numbered COM port → corresponds to the K210 chip.
Note: The actual COM port numbers may vary depending on the operating system. It is recommended to check them via the Device Manager or a serial terminal tool.
Flash Files:
Download the required firmware files from the official website.
Flashing the K210
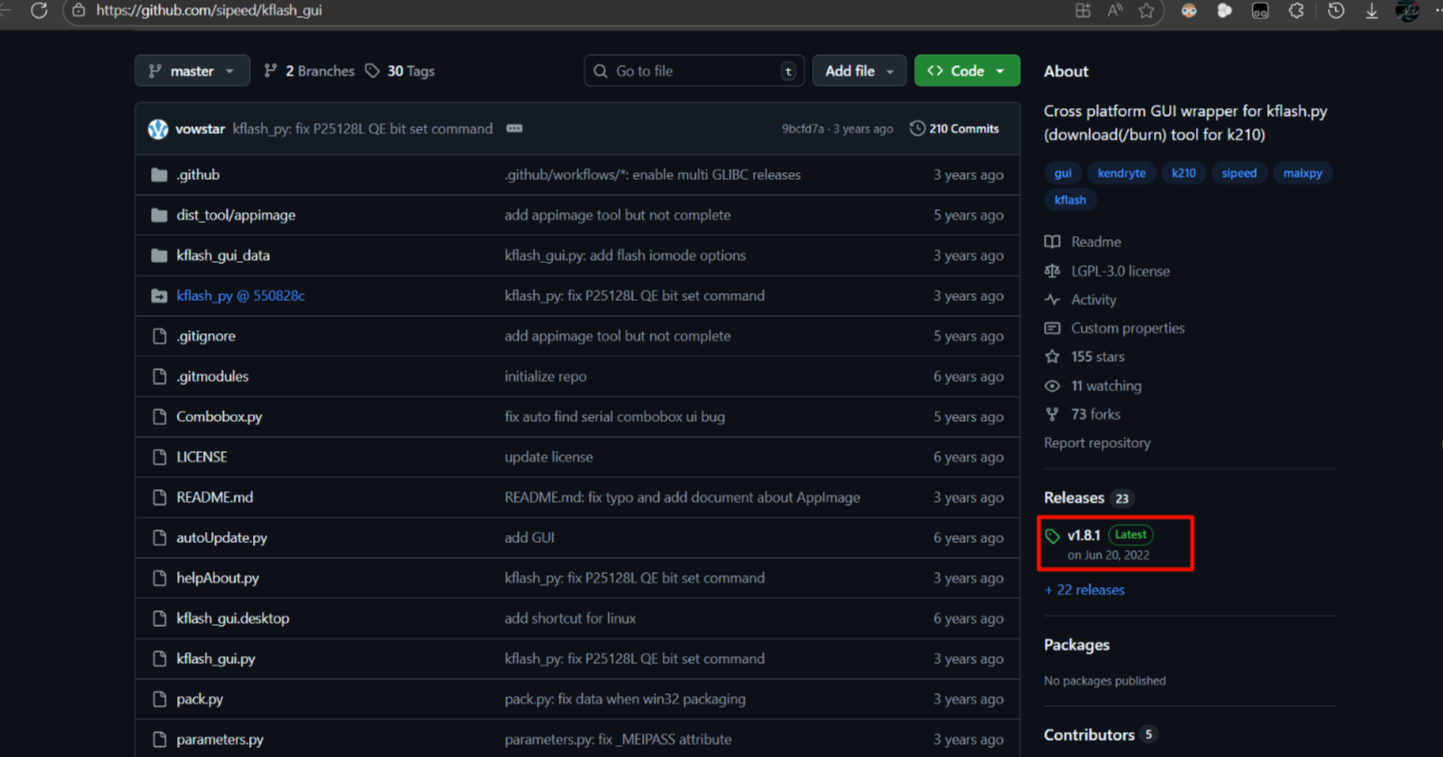
Access GitHub to obtain the kflash_gui flashing tool.
Click to get the latest released version.
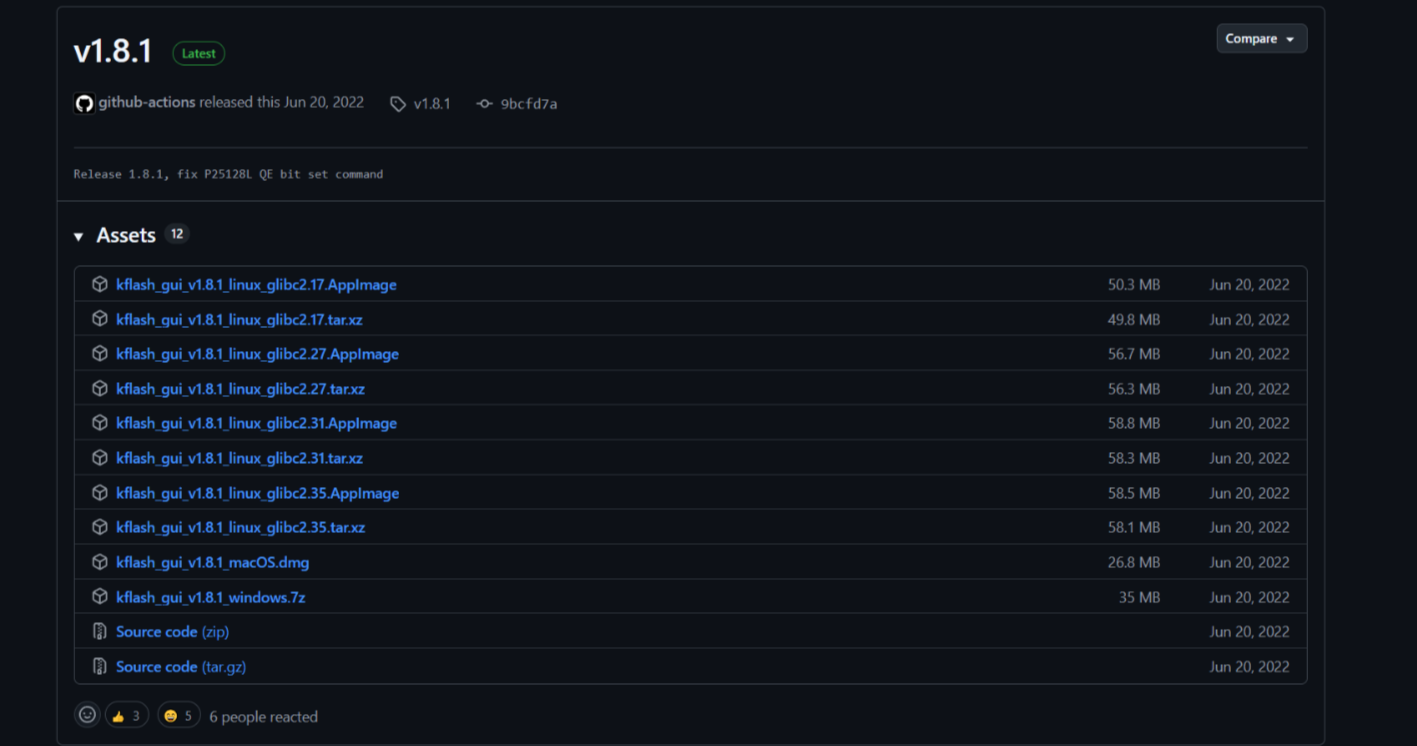
Select a version suitable for your system to download.
For Windows users, you can download kflash_gui_v1.8.1_windows.7z (you will need a tool to extract 7Z compressed files, please download and install one from the internet if you don’t have it).
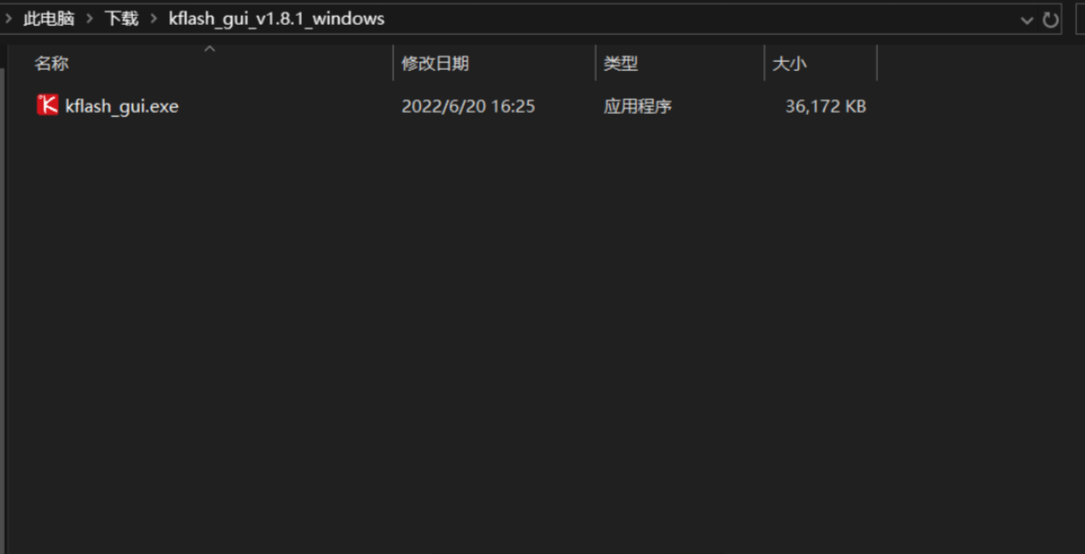
Unzip the downloaded compressed file, and the folder will contain only one executable file, which is the software we need.
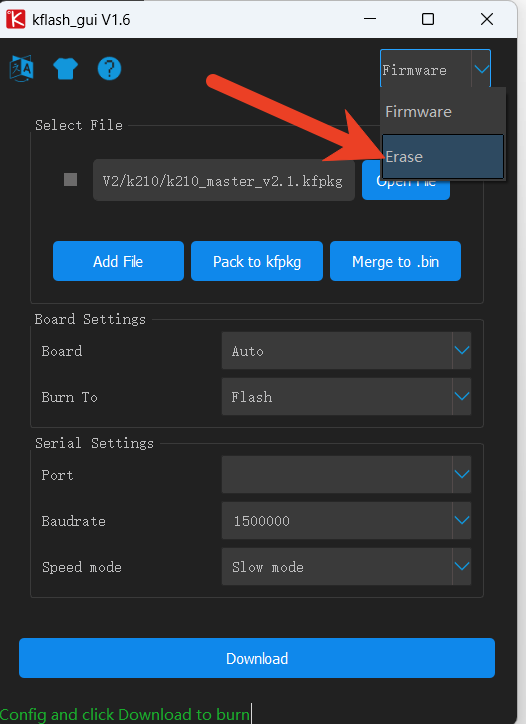
Open the kflash_gui flashing tool and select Erase.
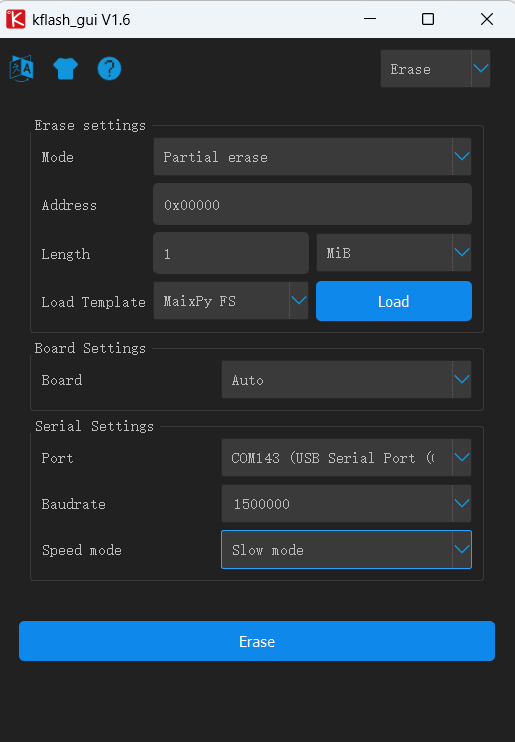
In the erase interface, refer to the specific options shown in the image below. The port should be selected according to the actual port.
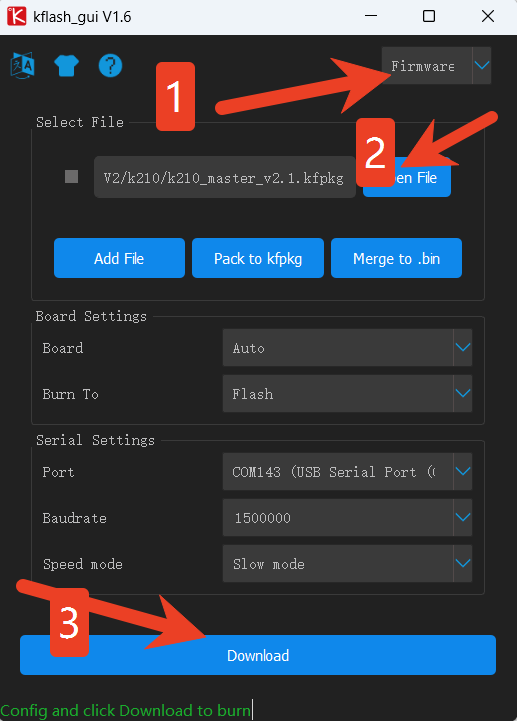
Click Open File, and in the dialog that opens, choose the k210_master_v2.0.1.kfpkg file. For the other options, refer to the image below, and select the port according to the actual port. Then, click Flash and wait for the flashing process to complete.
ESP32 Flashing
The onboard chip is ESP32-S3FN8. You can program and flash it using Arduino or the official Espressif tools.
Configuration Program:
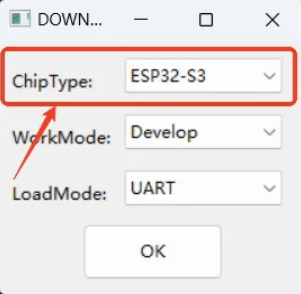
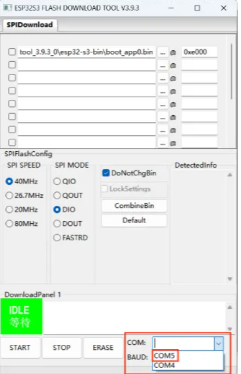
Open the flash_download_tool_3.9.3.exe program, select ChipType as ESP32-S3, and click OK.
Connect the Device:
Use a Type-C data cable to connect the K210 Visual Recognition Module to the computer. In the lower-right corner, select the larger COM port.
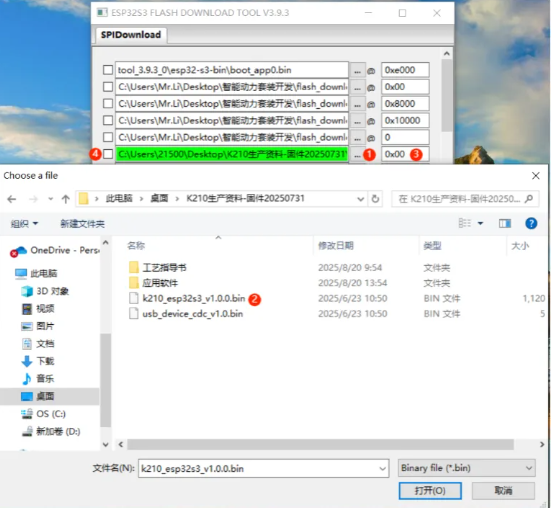
Upload the Firmware:
Click the “…” button, and in the dialog that opens, select the k210_xiaozhi_v2.0.1.bin file. Set the address to 0x00 and check the checkbox next to the firmware file.
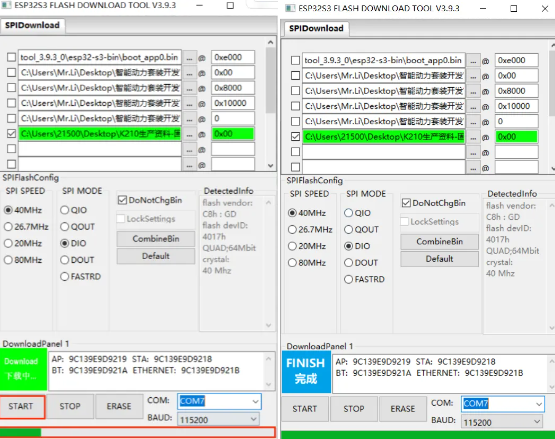
Flash the Firmware:
Click “START”, wait until the progress bar completes, and you will see a FINISH message indicating completion.
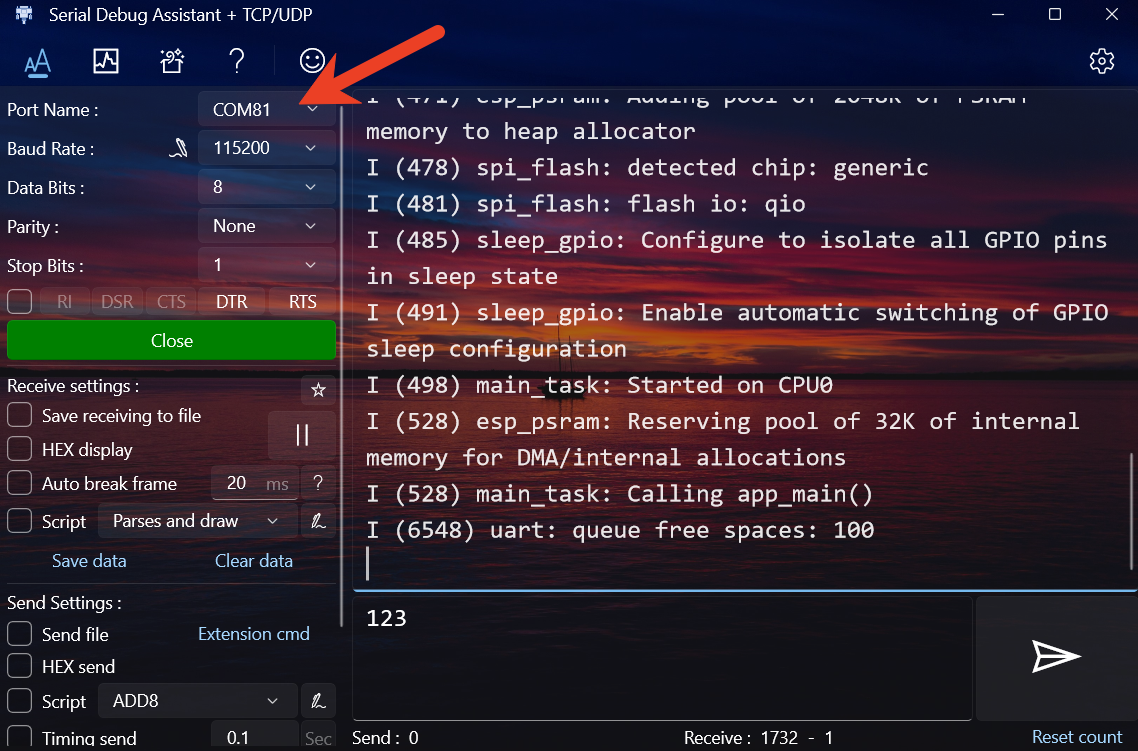
Verification:
Open the Serial Port Debug Assistant and select the larger COM port. If flashing is successful, the returned content will be shown as per the image below.